The Magic 10 Minutes: Wildlife Photography Before Sunrise and After Sunset
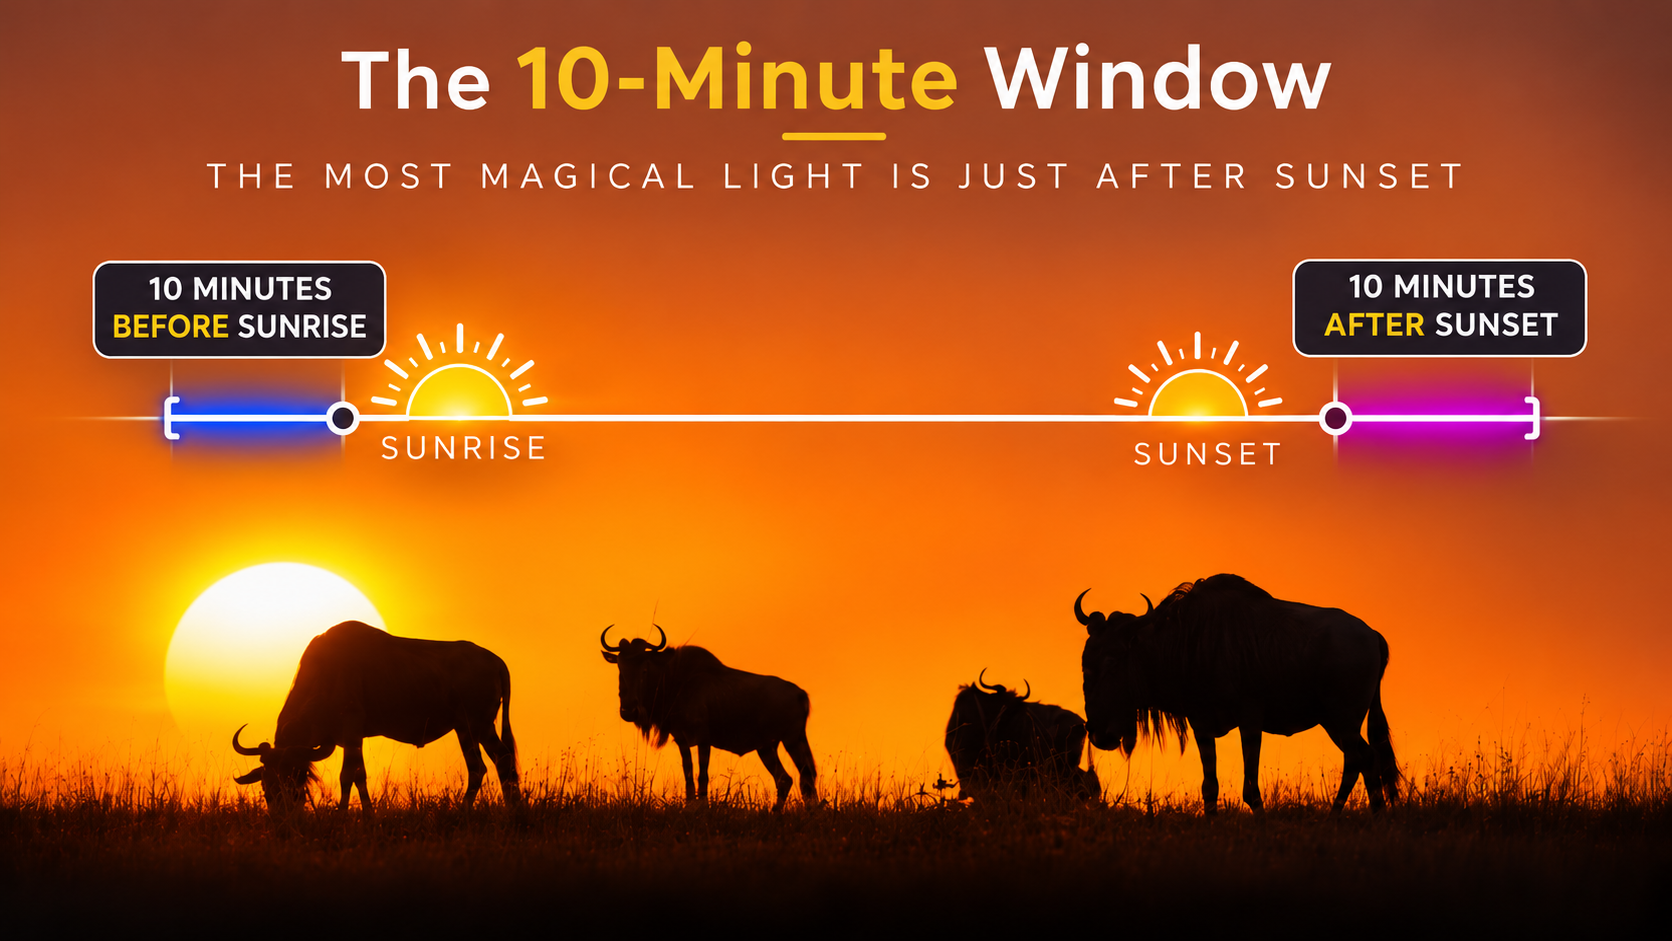
There is a brief window each morning and evening when the sun is below the horizon, but the sky still holds its light. For wildlife photographers, these few minutes can produce some of the most compelling portraits of the day.
The landscape grows darker, shadows soften, and the remaining light reflects across the open sky. Animals that may have appeared ordinary moments earlier can suddenly become remarkable photographic subjects, particularly when the sky is reflected in their eyes.
In our latest YouTube video, C4 Photo Safaris Managing Director and wildlife photographer Shem Compion explains why the 10 minutes before sunrise and 10 minutes after sunset deserve more attention, and how modern camera technology has made these opportunities increasingly accessible.
1. Why the Light After Sunset Is So Special
When the sun disappears below the horizon, the light does not vanish immediately.
In Africa's open landscapes, sunlight continues to illuminate the sky, which reflects some of that light back towards the ground. This creates a soft, even illumination without the strong directional shadows associated with direct sunlight.
The effect can be particularly striking on clear evenings when the sky remains bright while the landscape begins to darken.
For wildlife portraits, this creates several advantages:
Soft, warm light across the subject
Reduced harsh shadows on faces and bodies
More even illumination
Large, bright reflections in animals' eyes
Rather than packing away the camera as the sun disappears, consider what the remaining light might offer.
2. Understanding Catchlights in Wildlife Photography
One of the most important details in a wildlife portrait is the catchlight.
A catchlight is the reflection of a light source in a subject's eye. It gives the eye definition and can make a portrait feel more engaging.
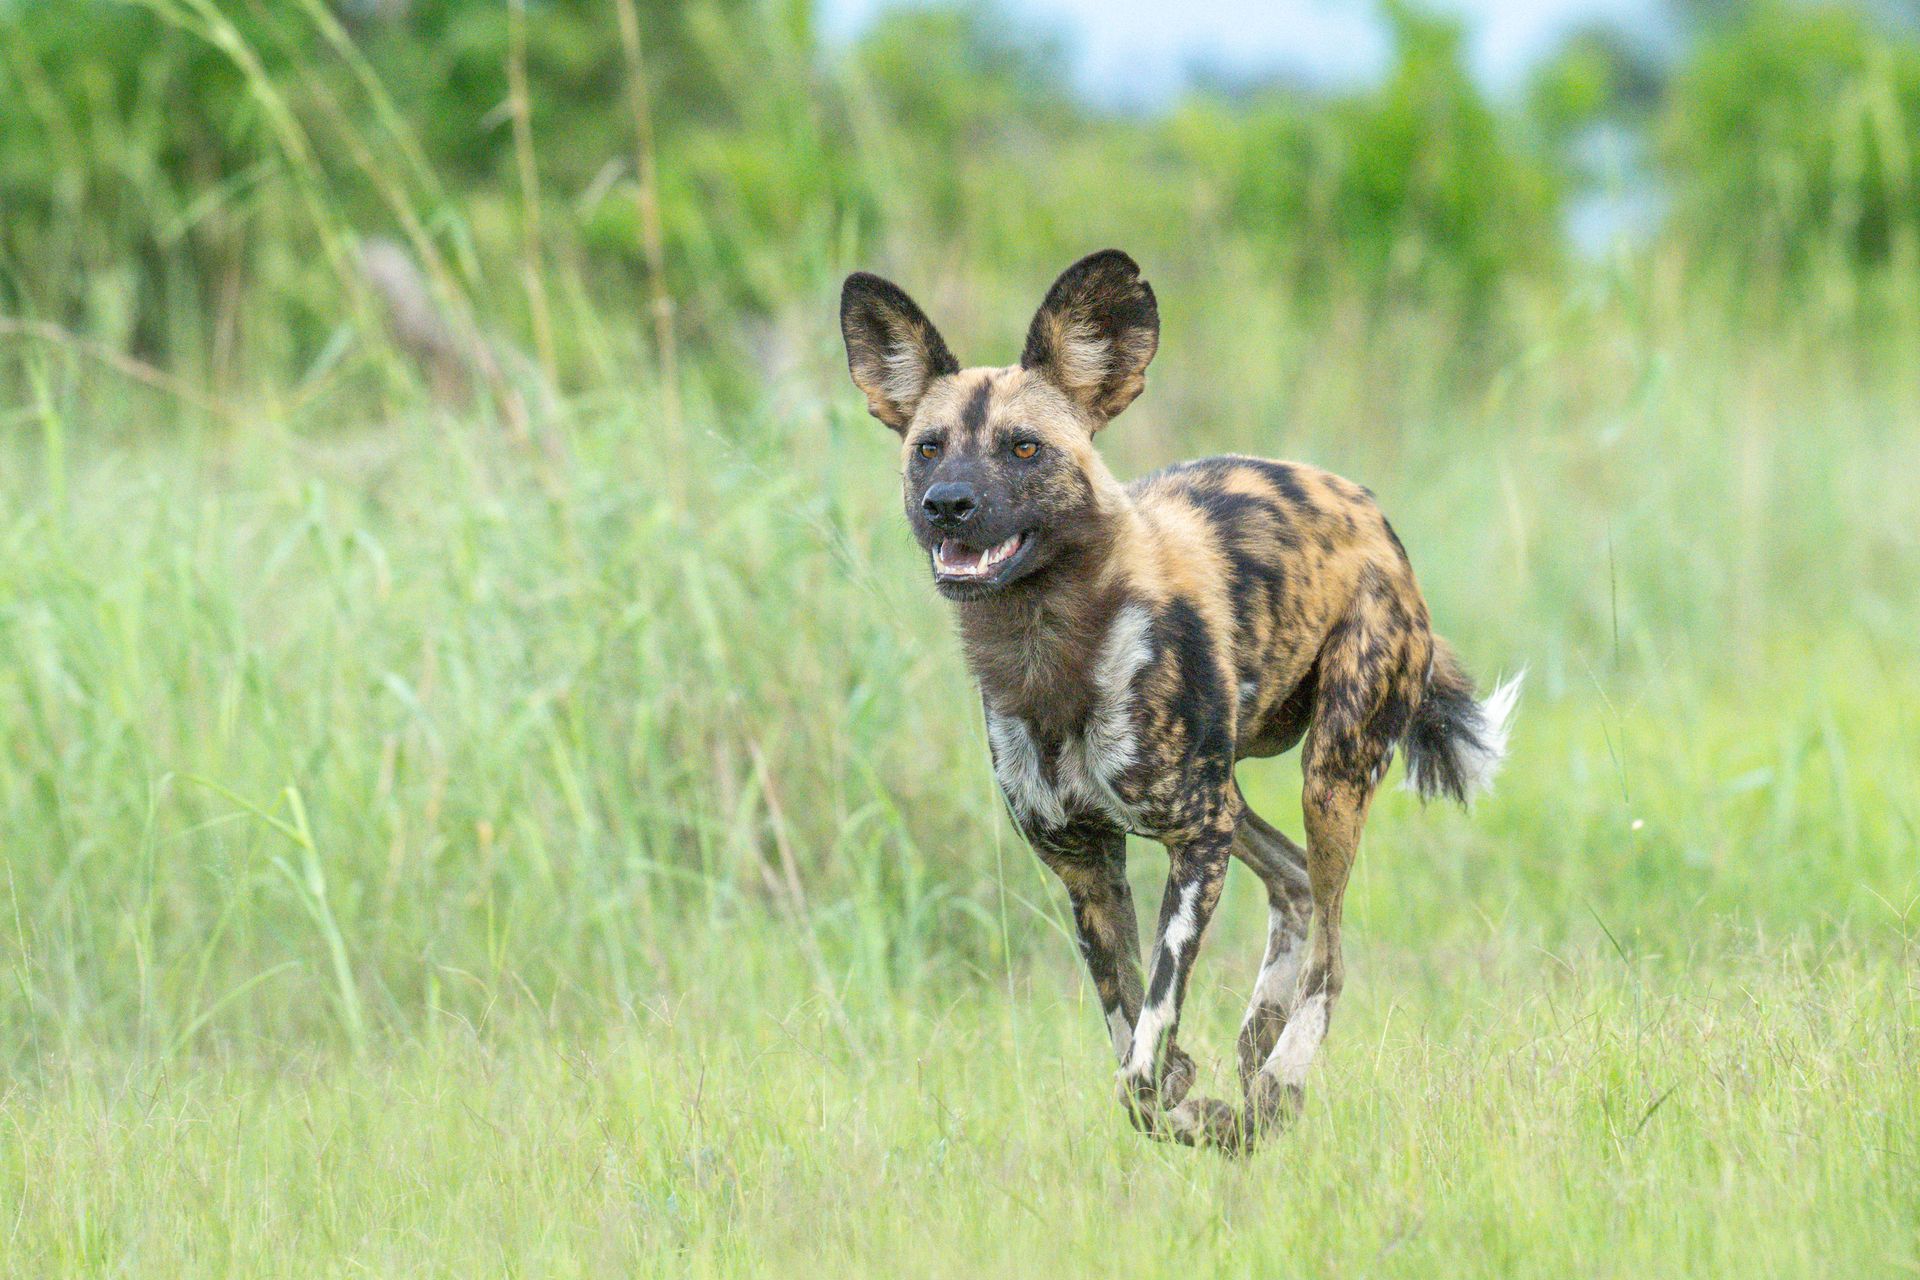
During the final minutes after sunset, the bright sky becomes an enormous natural light source.
As Shem explains, the reflection can extend across much of the visible surface of an animal's eye, creating a broad, glowing catchlight.
This is especially effective when photographing animals with large, prominent eyes.
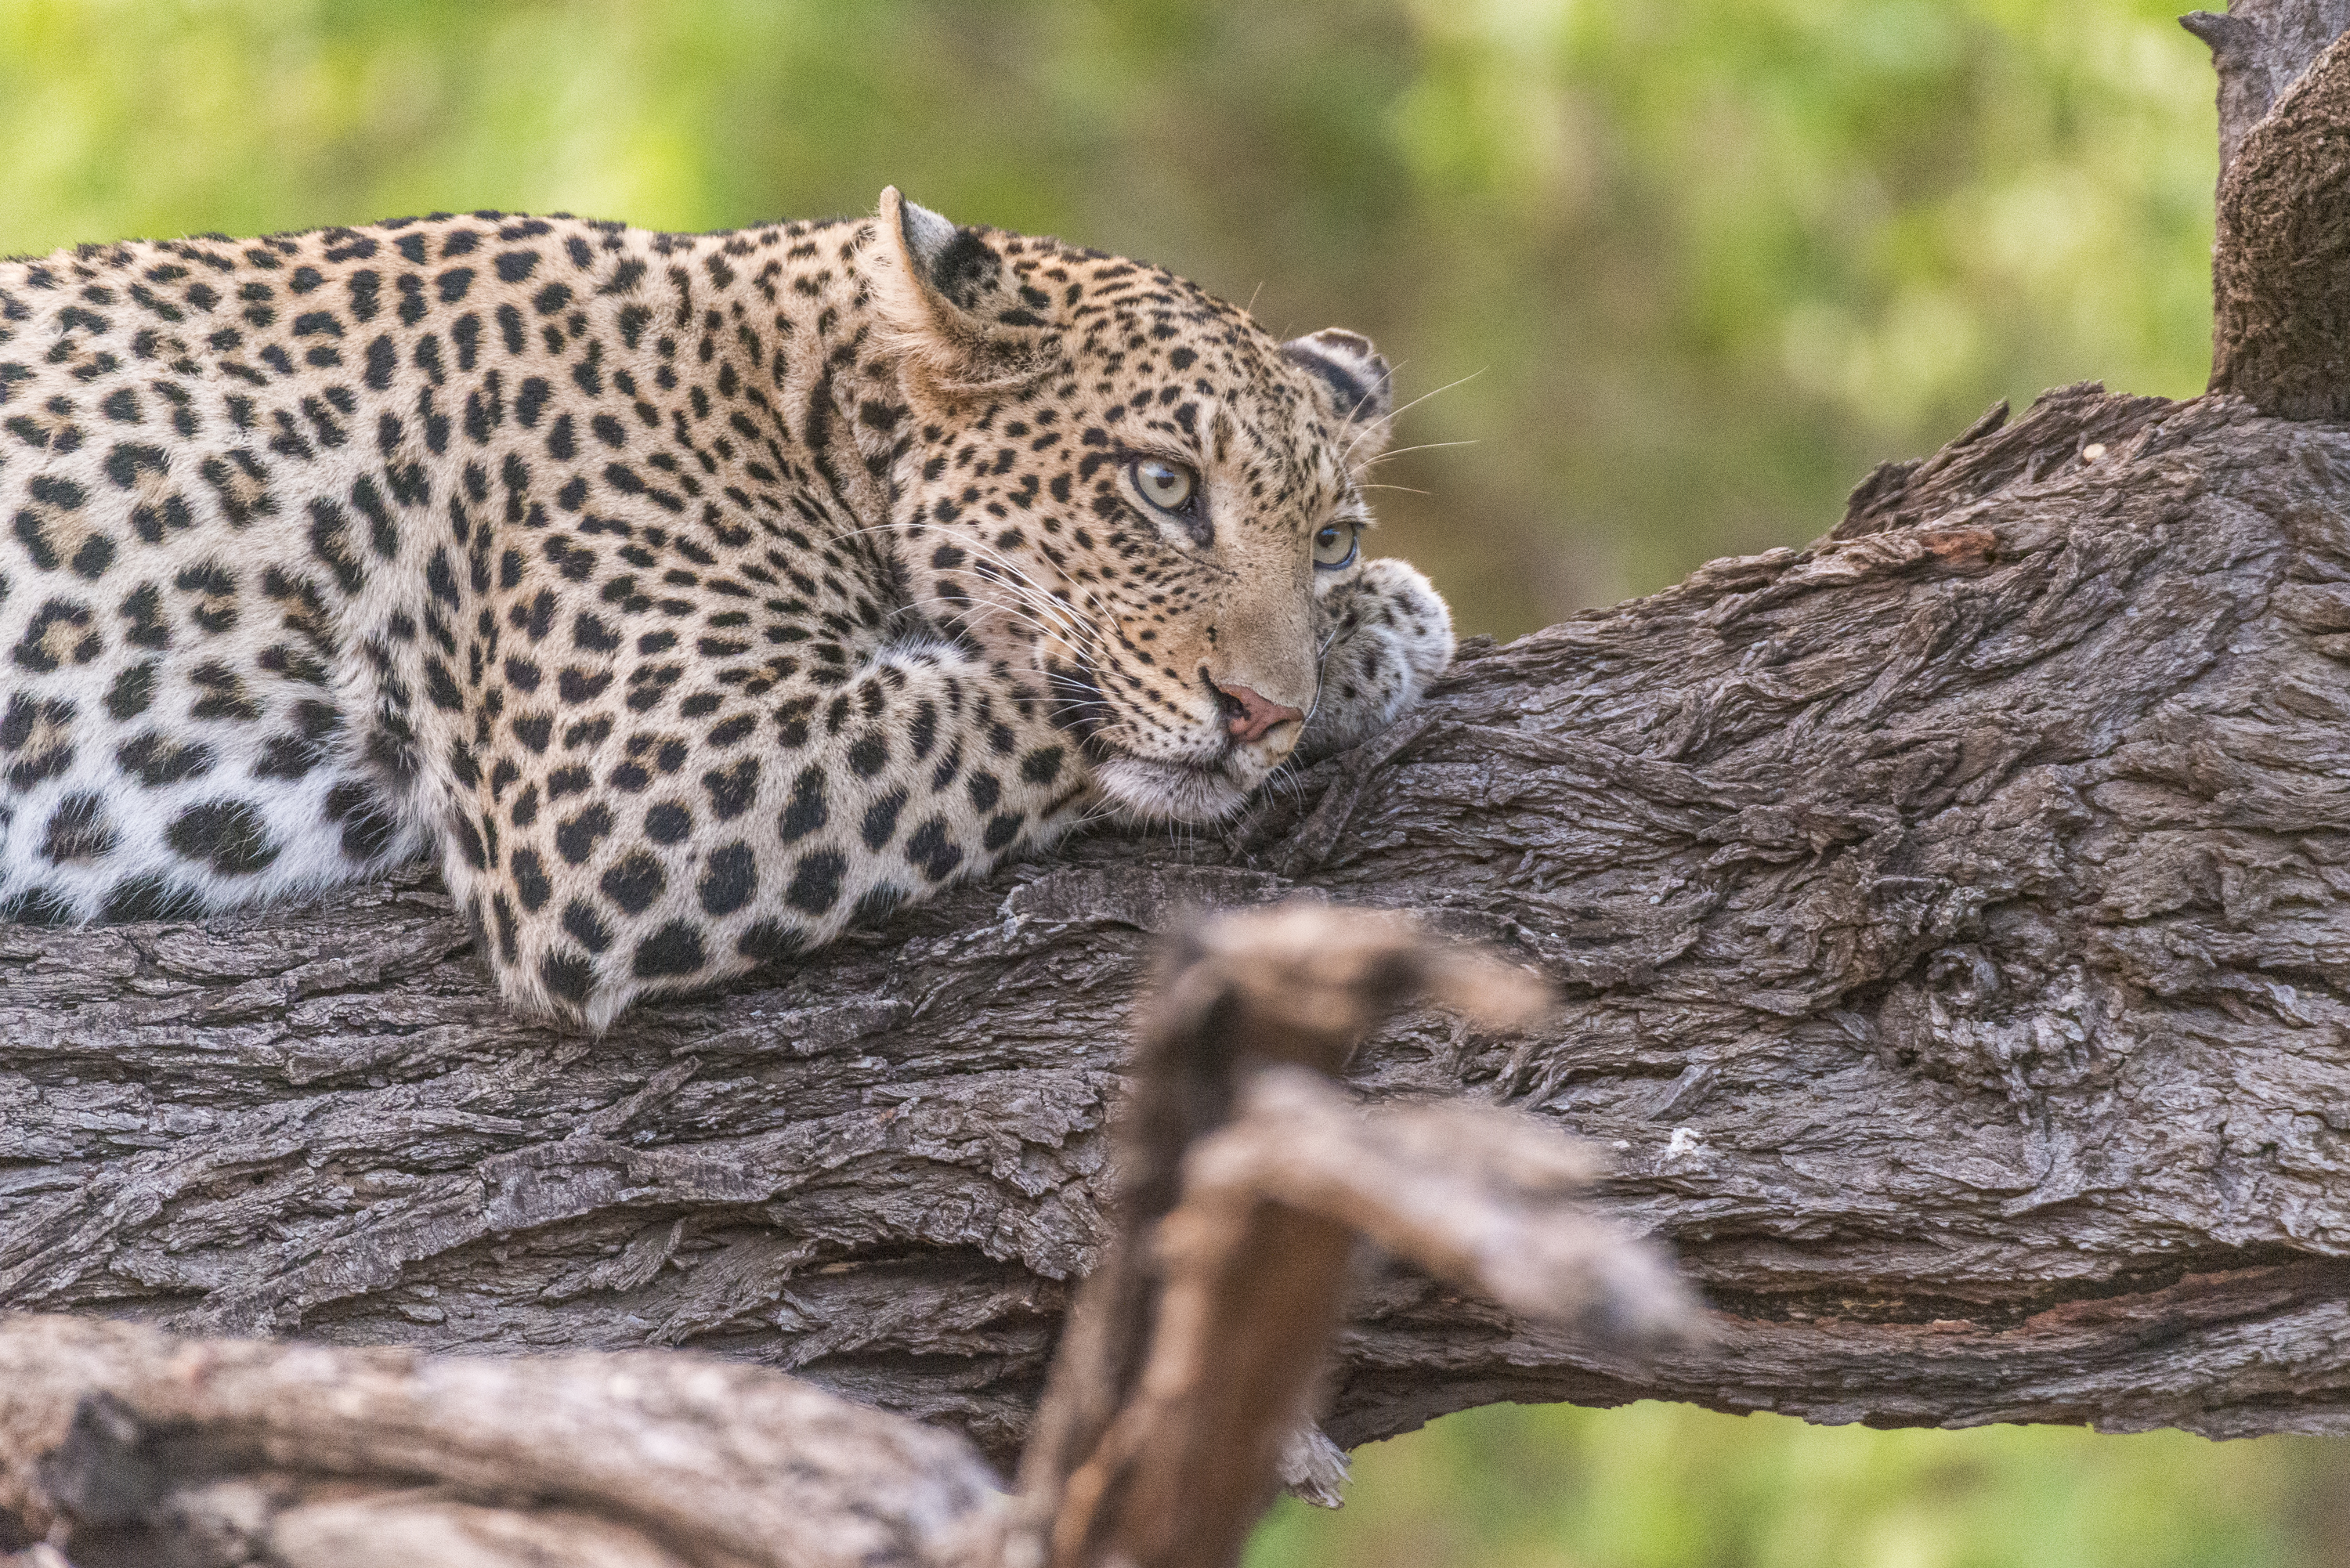
Predators such as lions, leopards and cheetahs can make excellent subjects, particularly as they become more active towards evening. However, the opportunity is not limited to predators.
Owls, kudu and other wildlife can produce equally compelling portraits when their eyes reflect the remaining light.
Field tip: Pay attention to the direction your subject is facing and whether you can see the sky reflected in its eyes. A small change in the animal's head position can make a significant difference to the portrait.
3. How High ISO Changed Low-Light Photography
Not long ago, photographing moving wildlife after sunset was considerably more difficult.
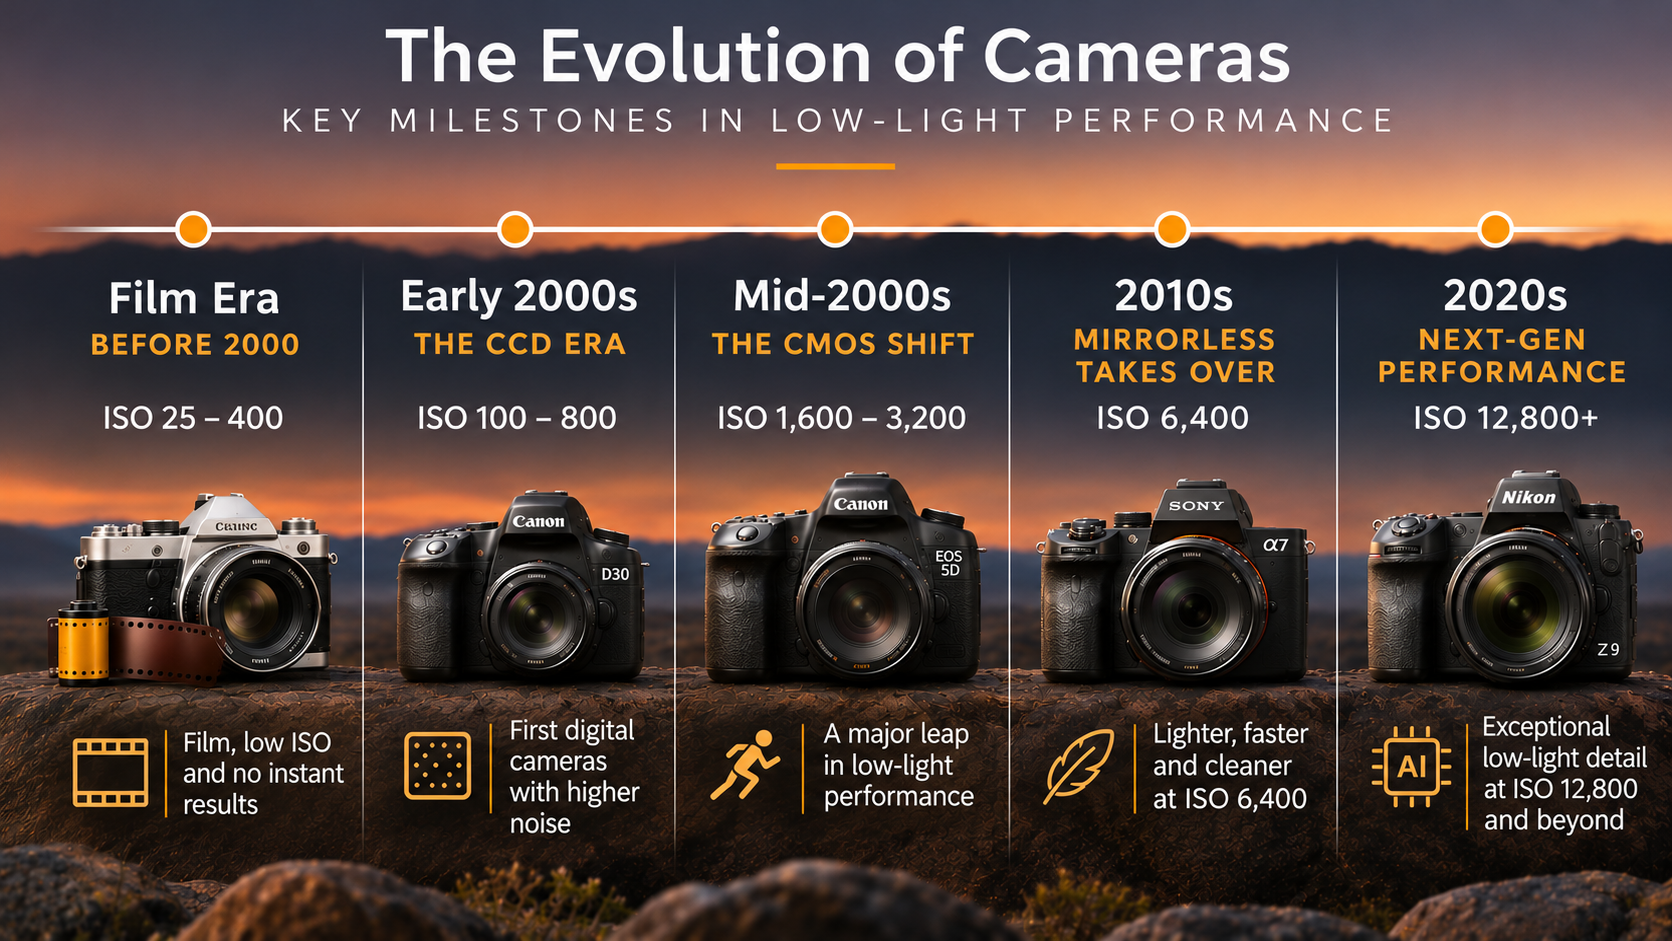
During the film era, photographers commonly worked with ISO 400 or ISO 800 film. Early digital cameras also had limitations when higher ISO settings were required.
The challenge was balancing sufficient shutter speed with acceptable image quality.
An active predator might offer a remarkable photographic opportunity, but there was often too little light to achieve a sharp image without introducing substantial noise.
Modern cameras have changed this.
As Shem discusses in the video, photographers can now work at ISO 6400 and even ISO 12800, depending on the camera and conditions.
This allows photographers to maintain faster shutter speeds in situations that previously demanded significant compromises.
Practical considerations in the field
When photographing wildlife in the final light of the day:
Prioritise shutter speed. If your subject is moving, avoid sacrificing sharpness simply to keep ISO low.
Use the aperture available to you. A wider aperture allows more light to reach the sensor, although depth of field becomes shallower.
Increase ISO when necessary. A sharp photograph with some noise is often more useful than a blurred image captured at a lower ISO.
Watch your exposure. Low-light scenes can be difficult to judge on the camera screen. Check your histogram and avoid unnecessary underexposure.
Shoot in RAW. This preserves greater flexibility for adjusting exposure and managing noise during post-processing.
These are general practical recommendations to support the approach Shem discusses, rather than specific camera settings prescribed in the video.
4. Using Lightroom Denoise to Recover Detail
Improvements in camera sensors are only part of the story.
Modern processing software has also expanded what photographers can achieve with images captured in difficult lighting conditions.
In the video, Shem highlights Adobe Lightroom's AI Denoise technology and its ability to improve photographs that might previously have been rejected because of excessive noise.
This is particularly useful for wildlife photographers who have older RAW files captured at high ISO settings.
How to use AI Denoise in Lightroom Classic
Import or locate your supported RAW photograph.
Open the image in the Develop module.
Locate Denoise in the Detail panel, or use the available enhancement controls in your Lightroom version.
Adjust the Denoise amount while inspecting the preview.
Apply the enhancement and review the result at 100% magnification.
The precise interface can vary between Lightroom versions.
When assessing the result, pay particular attention to fur, feathers, whiskers and fine detail around the eyes.
The aim is to reduce distracting noise without removing the natural texture that makes wildlife photographs convincing.
Field-to-editing tip: Revisit older high-ISO RAW images in your photographic library. Files that were once difficult to process may now be worth another look.
5. Low-Light Photography Goes Beyond Wildlife
Although the video focuses primarily on wildlife portraits, Shem emphasises that the same principles apply to many other photographic subjects.
Low light can create atmosphere, depth and a sense of place that is difficult to achieve in brighter conditions.
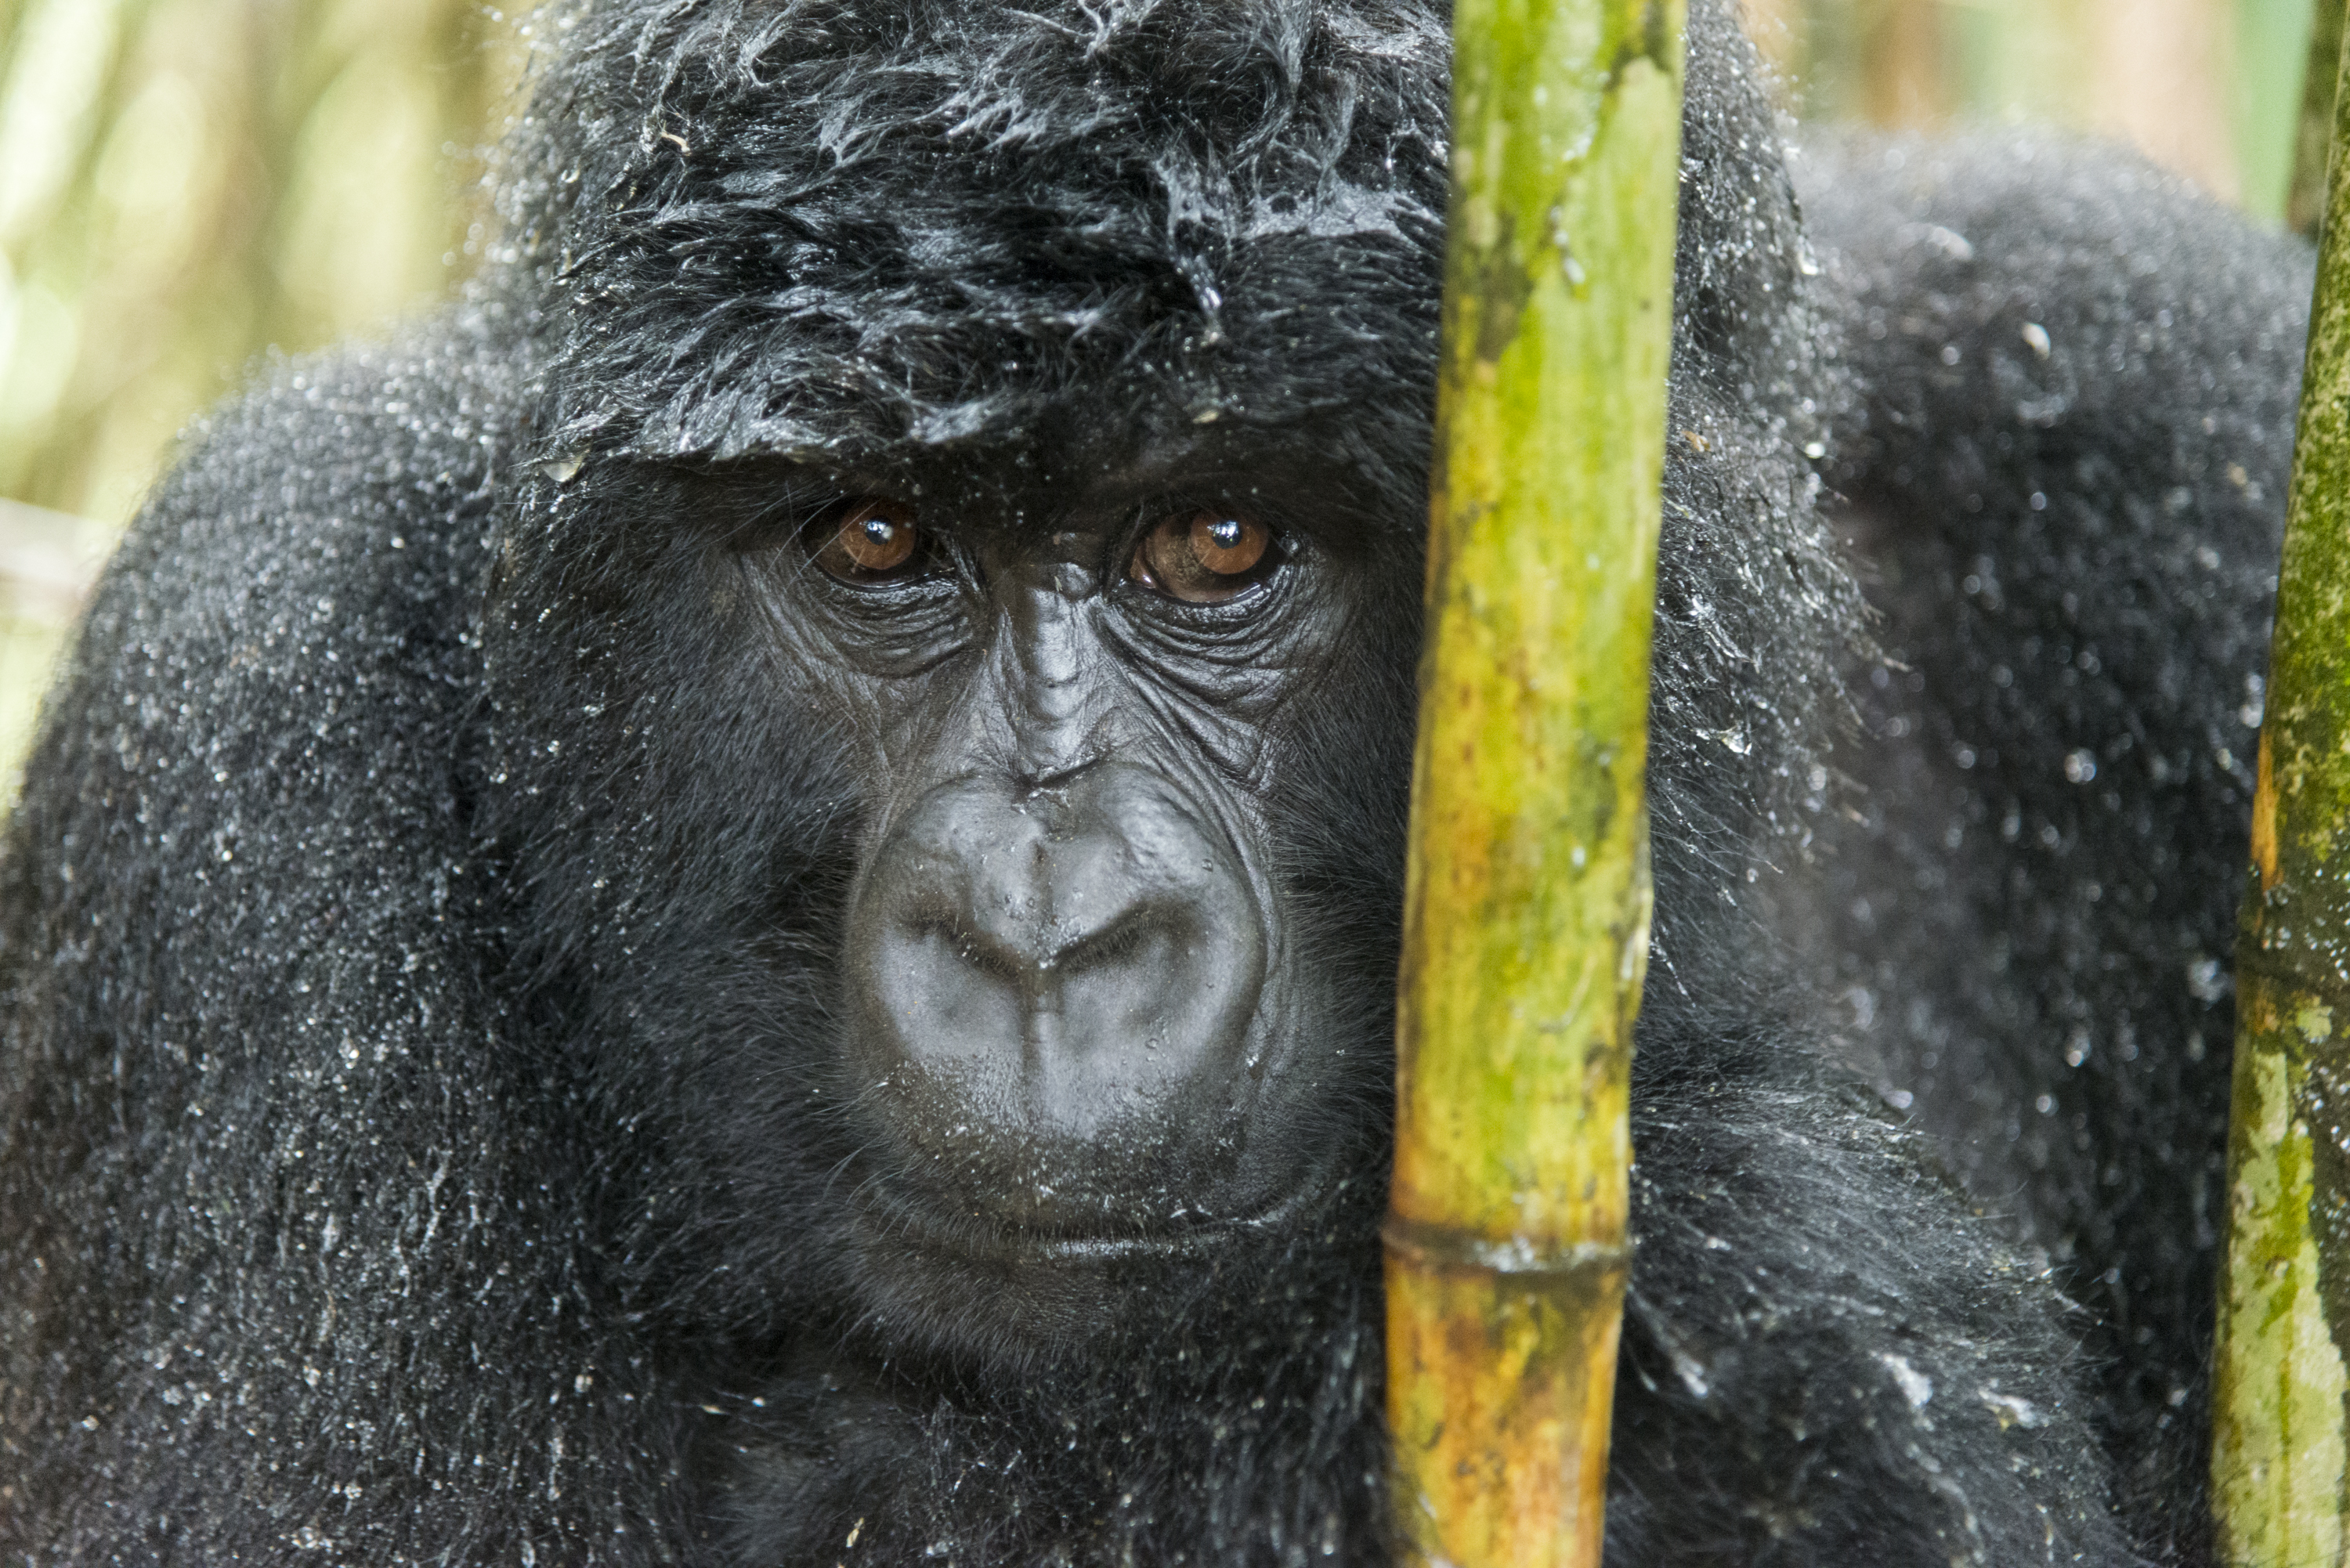
Primates in forests
Photographing gorillas and other primates often means working beneath dense forest canopies.
The available light can be limited, but the environment also offers opportunities for soft illumination and atmospheric portraits.
Modern high-ISO performance allows photographers to work more confidently in these conditions.
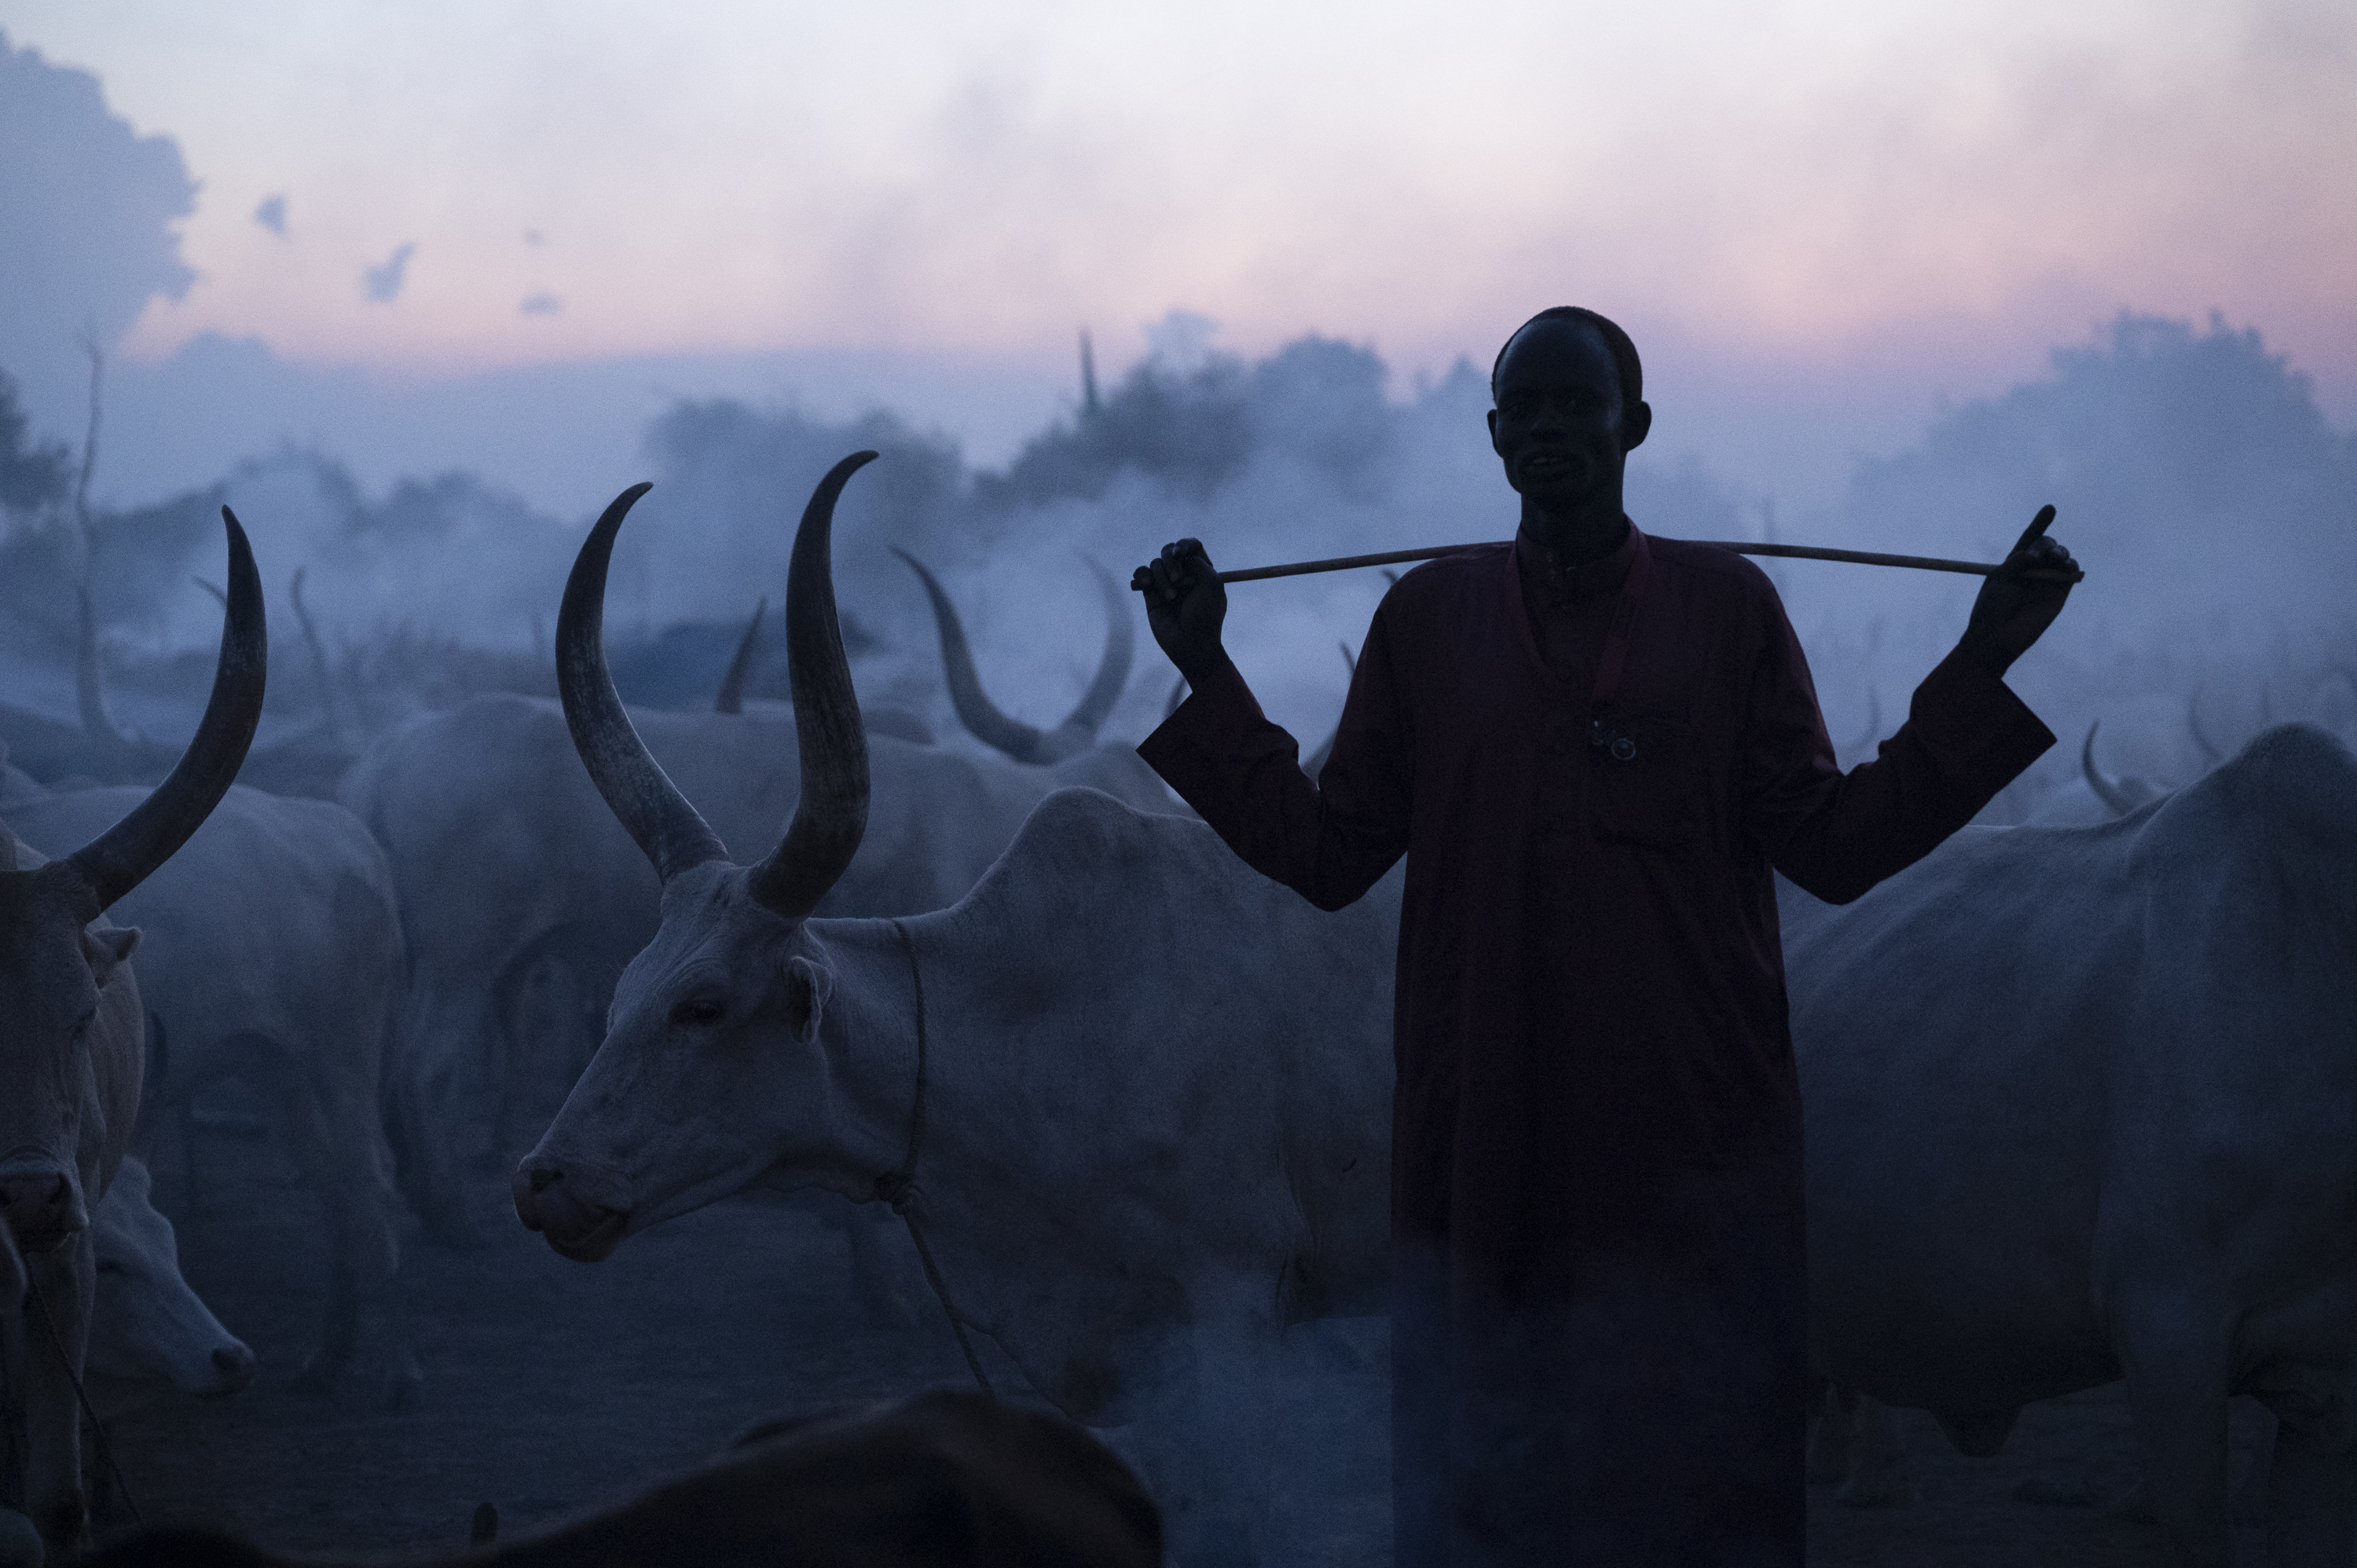
Cultural photography
Low-light opportunities also arise when photographing people and cultural events.
Shem refers to the churches of Lalibela in Ethiopia, where priests move through dimly lit interiors.
These environments can produce photographs with a strong sense of atmosphere, particularly when the existing light forms an important part of the story.
Rather than introducing additional lighting, working with ambient light can help preserve the character of the scene.
The same principle applies to ceremonies and cultural encounters where the available light contributes to the photograph's mood.
6. Recognising the Opportunity Is the Most Important Skill
Camera technology can help us capture photographs in low light, but it cannot recognise a photographic opportunity for us.
This is where fieldcraft becomes essential.
Shem's central message is not about a complicated camera technique or a particular piece of equipment. It is about recognising what happens to the light during those brief moments before sunrise and after sunset.
Watch how the sky changes.
Notice when the harsh shadows disappear.
Look for reflections forming in an animal's eyes.
Consider subjects that might otherwise receive little photographic attention.
A kudu standing quietly in the last light may offer just as much photographic potential as a predator, provided the light, expression and composition come together.
Sometimes the strongest photograph is not the one made when the light is brightest, but the one made when the photographer understands how to use what remains.
7. A Simple Low-Light Photography Checklist
Before your next early morning or evening photographic session, keep these points in mind:
Stay alert during the 10 minutes before sunrise and after sunset.
Look for clear skies and soft, reflected illumination.
Pay particular attention to catchlights in animals' eyes.
Consider subjects with large, prominent eyes.
Use higher ISO settings when necessary to maintain a suitable shutter speed.
Capture RAW files for greater post-processing flexibility.
Review older noisy images using modern Denoise software.
Look for low-light opportunities beyond wildlife, including forests, people and cultural settings.
Final Thoughts
The final minutes of daylight are often when photographers begin thinking about returning to camp.
Yet, as Shem explains, these moments can offer some of the most rewarding photographic opportunities of the day.
The combination of reflected light, soft shadows and glowing catchlights can transform an ordinary wildlife encounter into a memorable portrait.
Modern cameras and processing tools have made these moments easier to capture, but the essential skill remains the same: learning to recognise the light.
The next time the sun disappears below the horizon, keep watching. There may still be a photograph waiting to be made.
Watch Shem Compion's latest C4 Photo Safaris YouTube video to see how these 10 minutes of magic can change your approach to low-light photography.